Update: Upgraded to fix dead pump, new custom DIY double reservoir added, new relay added for more options than just on/off. See last pictures at the bottom for updates.
Update: It does run OSX
Update 2/2013: Computer has been sold
New Water cooled Video editing/Gaming PC
Gigabyte GA-EP45-UD3P mobo
Intel Core2Quad 6600
XFX 9800GT card
10 hard drives (RAID 6 array 8 1 TB drives, 1 OS drive 74gb raptor, 1 spare 1gb used as extra storage for now)
Areca 8-port RAID controller
850w power supply (yes it call run all of this on a good 850w supply, needs more if I wanted to SLI)
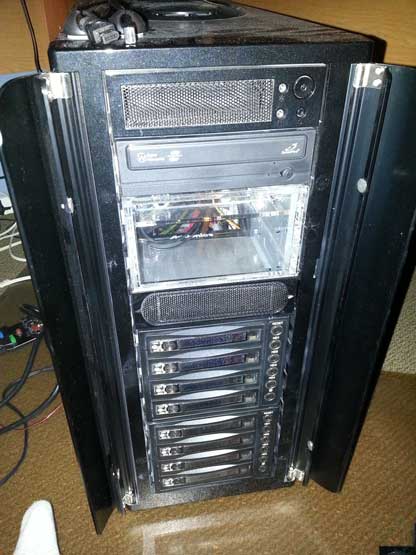
ThermalTake Armor case
This new PC is a Core 2 Quad that will be overclocked and run on water cooling to try to get above 3ghz with a 6600 chip. In the end I got to 3.3ghz relatively stable and am able to run everyday hard video takes slightly lower than that with decreased voltages and .2 ghz less clock. All in all this build was successful to meet the goal and design I had in mind when I started.
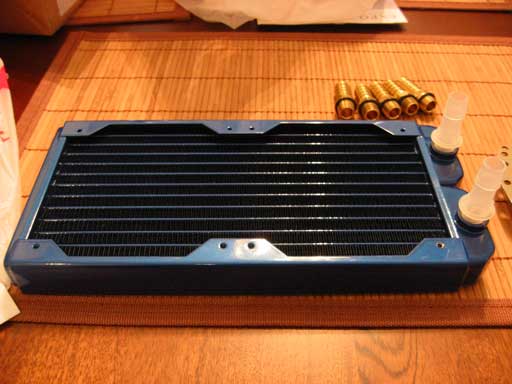
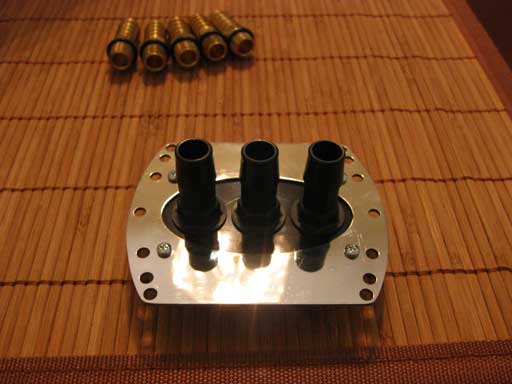
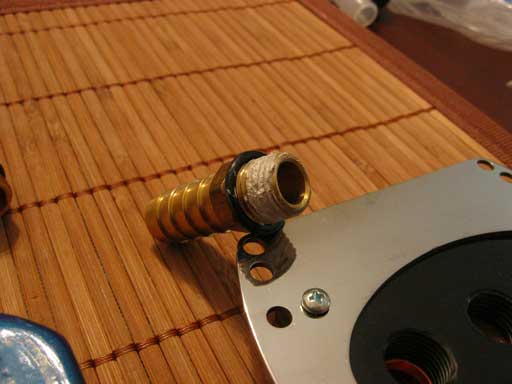
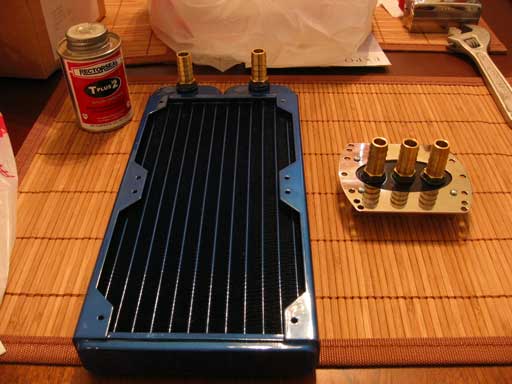
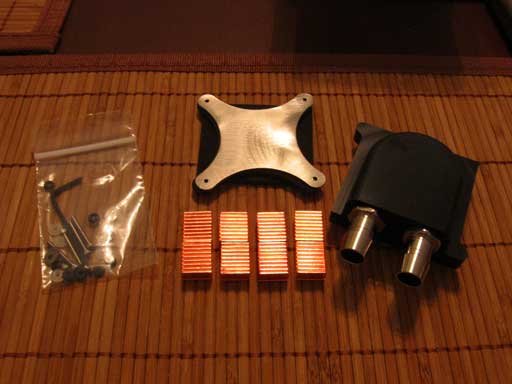
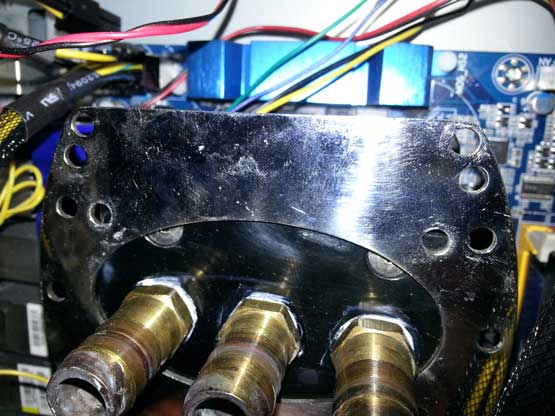
Here are the CPU water block, the radiator and fittings. You can see that I replaced the cheap plastics with some nice brass fittings.
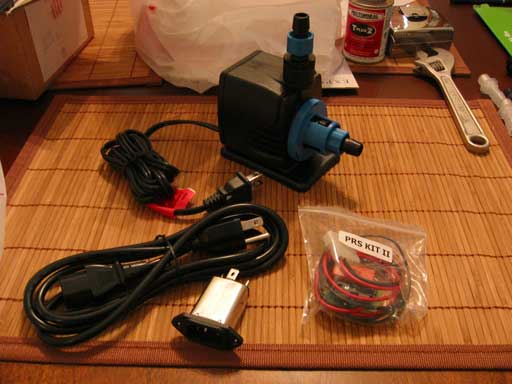
On to the pump, I went with a hydor pump to avoid some of the cheap 12v pumps out there. You can see the relay kit I was using as well (scroll to the bottom for the updated relay.
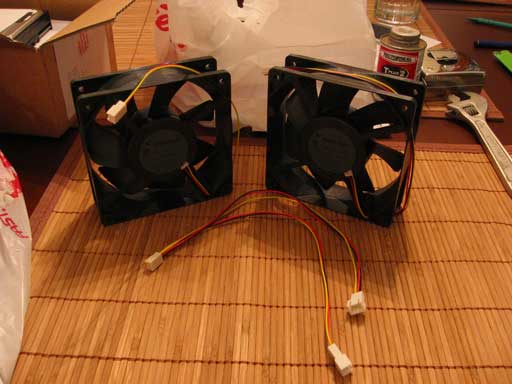
Here are the 2 120mm fans for the radiator. They aren't <20db fans but they shouldn't be too loud if I lower the voltage on them to slow them down from 12v.
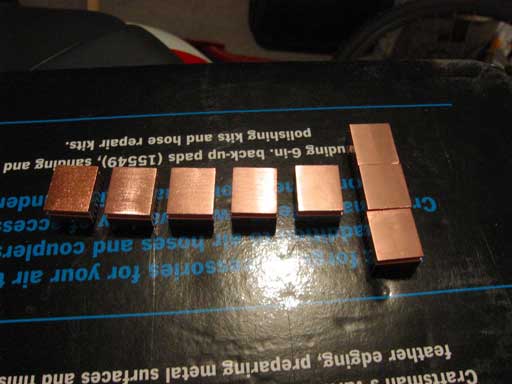
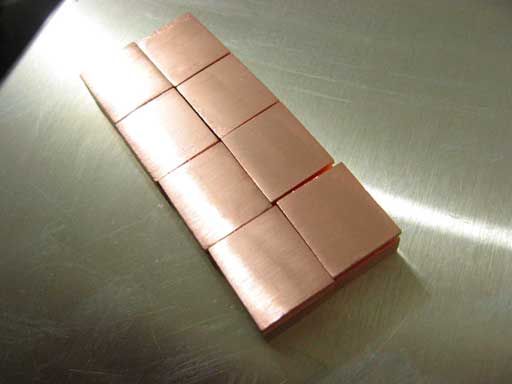
Danger Den reservoir and GPU water block. You can also see the memory heatsinks I will be using. In the next photo you can see the progression as I sand them down from a nice rough surface to 80 grit, 100, 200, 400, 800, 1600 grit sandpaper. In the end they are nice, fine, smooth, flat and shiney as they should be.
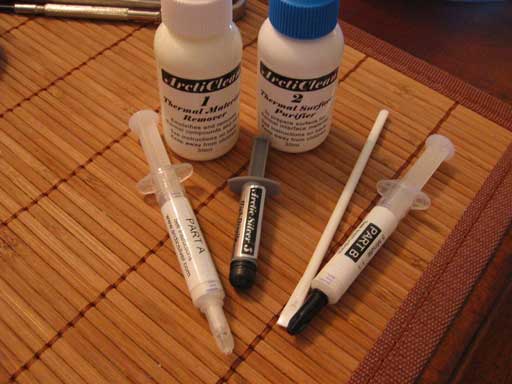
Epoxy, cleaner and thermal paste used in the build.
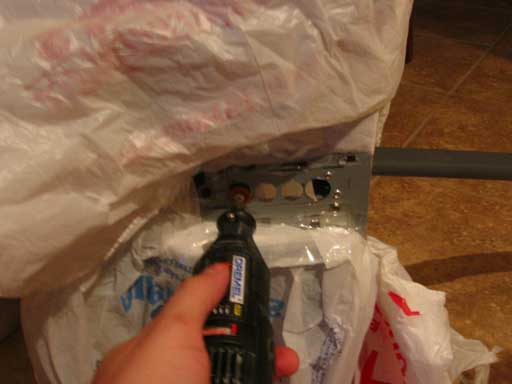
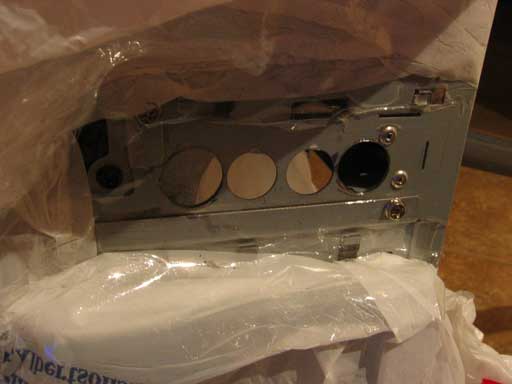
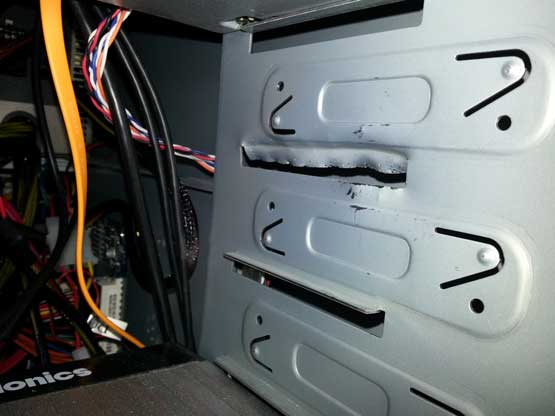
These next 3 pics are of the mod I had to do in order to fit the larger clearflex tubing through the case. I had to increase the size of 2 of the holes in the back of the case as well as move the fan that was venting just below these holes. Score one for the dremel!
GPU time. Here is the cleaning of the GPU then a pic of the water block mounted.
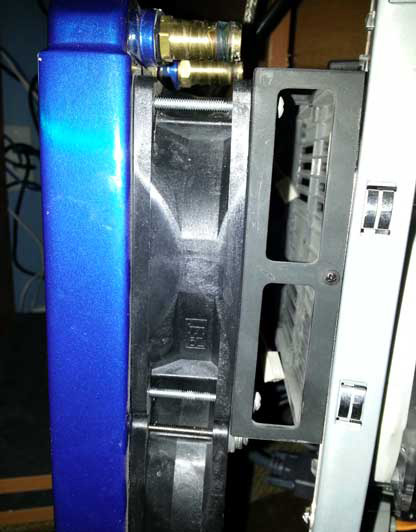
Radiator and CPU water block mounted up. Time to hook up the tubing and get it up and running.
Final Results: AWESOME! Looks cool, runs fast benchmarks well. Even on this update I have only had to change the water once in the rig which is something I was warned about.
UPDATE - It does run OsX
I found that this hardware was almost exactly what Lifehacker used for one of it's osx86 machines so I did give it a try. On a spare drive I installed it and did my DSDT and got all but the RAID controller working. I didn't spend too much time on it since I use Windows/Linux dual boot on this machine, but good to know it will work.
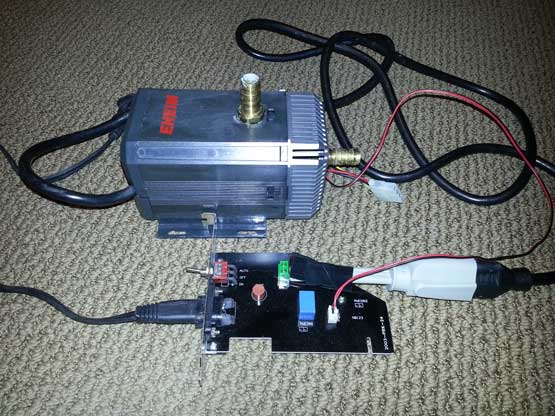
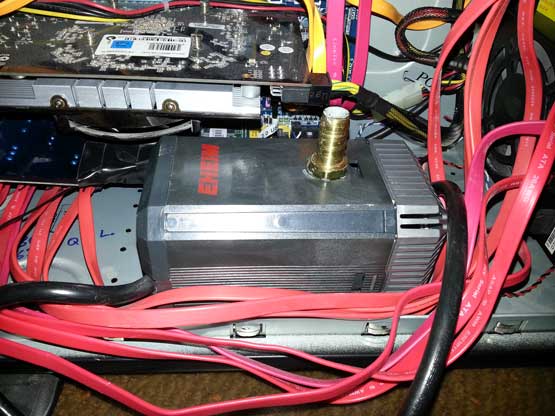
UPDATE - new pump, relay, res.
Here you can see that I had to bend back the slide support on the case to fit the double reservoir. Some needle-nose pliers was all it took after opening both sides of the case.
Finally installed and front panel complete (see the relay in the back, that's next)
New 1250 Eheim fish tank pump should do the trick. At the same time I also updated the relay to give me an option for automatic on/off plus an always on mode. In reality this computer is on 24/7 and really needs to have water on all of the time, this way it eliminates the issue of not getting power in correctly from PCI or fan plug as a failure mode. Below you can see it installed with the rest of the setup I was using when I was without water. Just video card to go and hook the tubing back to the pump and I'll be back to 3+ ghz...